
Painting your RV? When we purchased our “new to us” 99 Rialta Classic, in true Luna Sea fashion, the project list immediately started to grow. As we added items to the list, we didn’t always agree on the priority or whether it was even needed. (Scroll all the way down to view the video)
Exterior Paint was one where we disagreed on need.
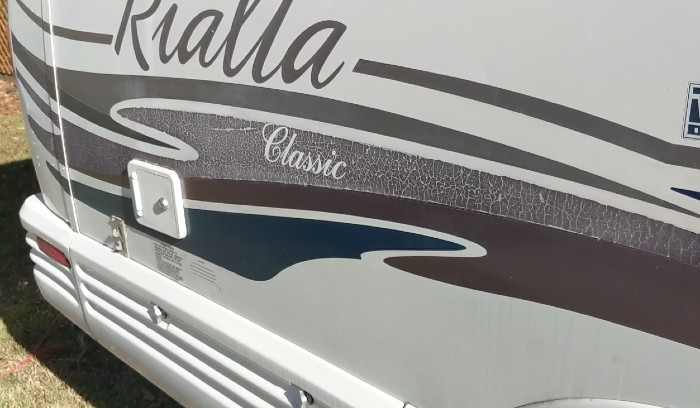
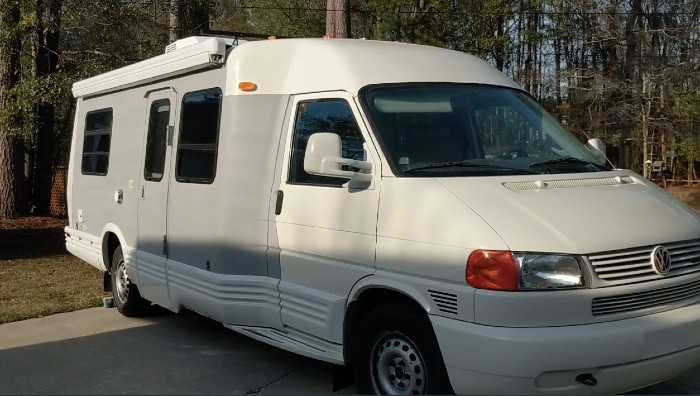
The aluminum side panels were in terrible shape and the decal/graphics, even worse. Neither one of us care for most of the gaudy graphics packages that are vomited on the sides of most RVs; and that’s when they are in new condition. Add twenty years of UV damage to the mix and it was more than I could stand. Jenn, on the other hand, embraced the run down look and thought it would make us less of a target for theft – especially while outside the US. Quotes for painting an RV like this can run from 5K to over 10k depending on your location and the quality of the shop. Regardless, that was never gonna happen… not on our budget!
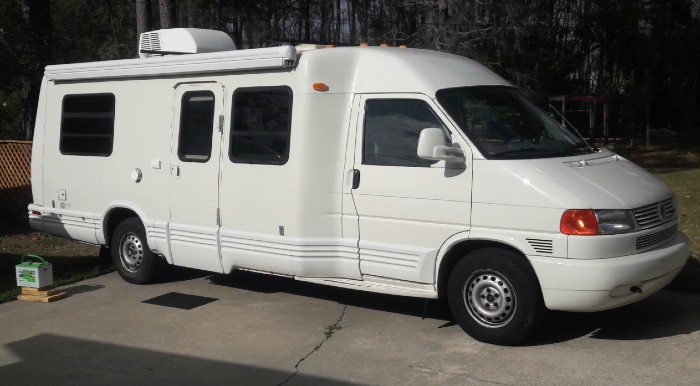
The more time we spent with LoLo, the more we noticed that the cab, rear cap, and valance panels were in great shape and would likely buff out nicely; but only if we could get the graphics off without damaging the paint. The only sections that were really bad were the aluminum side panels. On these panels the paint was now transparent. On the area where the cab meets the coach, constant chaffing between the fiberglass and metal had caused some rust and corrosion to form. These were the only sections (on both sides) we would paint.
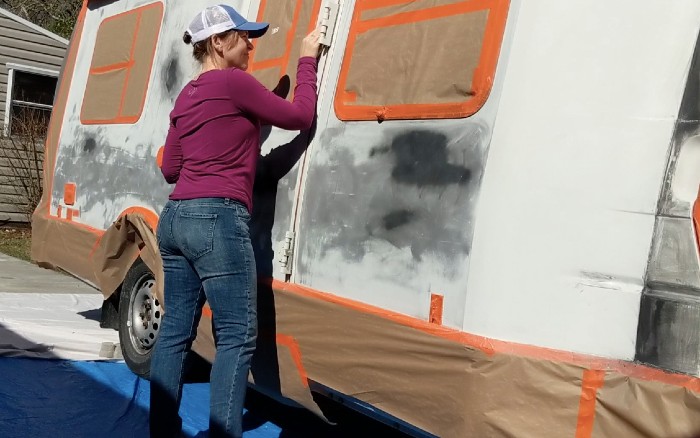
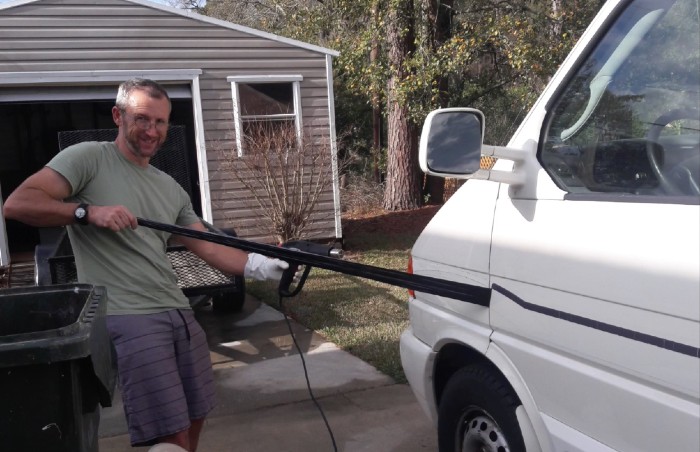
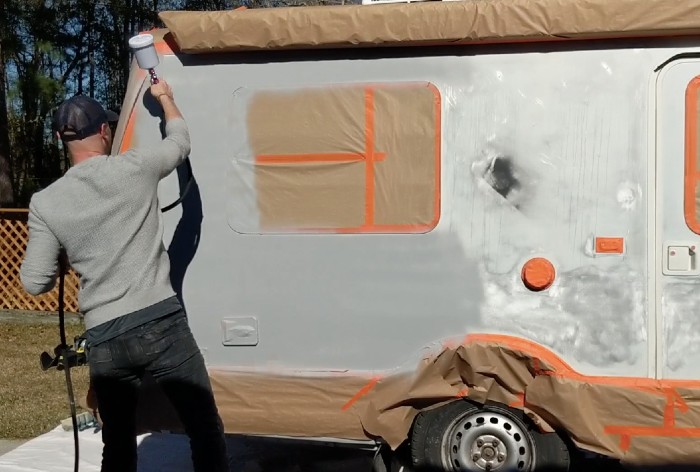
As we started to do estimates on the project, I figured most of the effort would just come down to lots of elbow grease, a case load of expletives and less than a thousand for paint, supplies and beer. So we hatched a plan, bought some supplies and jumped in. Since neither of us are painters, we enlisted the help of a friend to do the spraying and Jenn and I concentrated on stripping, sanding, masking, body work etc. This allowed our painter (for the most part) to show up, coach us here and there, spray and hit the road. To keep the cost for spraying down, I traded out some labor so the spray cost would be zero.
When you look at the break down below, there’s an oppurtunity to take on the bulk of the work and save you thousands if you can find a shop that will just spray the vehicle. Or if you’re gonna take on the entire job DIY it will give you an idea of what to expect.
Below are the materials and labor items (keep in mind we stripped the graphics from the entire vehicle, buffed the cab, rear cap and valance panels and only painted the driver’s and passenger side panels). I would double the cost for the paint and primer if your gonna paint the entire vehicle.
| MATERIALS | ||
| 30×30 tarp (ground cover) | 30 | |
| Masking supplies | 50 | |
| Sanding discs/paper | 30 | |
| Stripper and Solvents | 50 | |
| Tent Materials (for final coats) | 40 | |
| Primer and activator | 60 | |
| Chroma base (one gallon) | 240 | |
| Clear Coat | 85 | |
| Tack Cloth | 10 | |
| Paint Gun (Harbor Freight) | 20 | |
| Compressor (5HP-25Gal) Minimum | Borrowed | |
| Rubber Decal Erasers | 20 | |
| TOTAL | $635 |
| LABOR | ||
| Decal Removal | 35 | |
| Bondo and prep | 8 | |
| Masking (three times) | 15 | |
| Tenting | 2 | |
| Primer and final spray | 10 | |
| TOTAL | 70hrx($60-$90)=$4200-$6300 Labor | 70 hrs |
Based on these figures the decal removal is about half of the labor when painting your RV. If you are having your Rialta painted, you could save a considerable amount of dead presidents by stripping the decals yourself. If you have specific questions in regards to product, process, or cost, feel free to drop us a line. And don’t forget to check out the video HERE.

What type of base paint and primer was used on the exterior
Hey Ken! The primer was a recommendation from a local automotive paint shop. Possibly Chromaclear?
Was it lacquer or iurethane or what?
You may opt to use a standard paintbrush in painting outside of camper, which helps to save your money, but it’s going to take more time and effort to complete the project.
After finishing all coat of paint, you have to apply a coat of wax to seal the new graphics. It’s best to start at the roof and then work your way down.